How to Connect a Printer to Your iPhone: A Comprehensive Guide
In the fast-paced digital age, the ability to print directly from your iPhone has become increasingly essential. Whether it’s documents, boarding passes, or cherished photos, having the capability to print on the go adds convenience and efficiency to your daily life. Fortunately, connecting your iPhone to a printer is a straightforward process. In this guide, we’ll walk you through the steps to seamlessly link your iPhone to a printer, ensuring you can effortlessly bring your digital creations to life in print.
Step 1: Ensure Printer Compatibility Before attempting to connect your iPhone to a printer, it’s crucial to confirm that your printer supports wireless connectivity and is compatible with Apple’s AirPrint technology. AirPrint is Apple’s proprietary wireless printing protocol, enabling seamless printing from iOS devices like the iPhone without the need for additional software or drivers. Most modern printers are AirPrint compatible, but it’s always wise to double-check the specifications of your printer model to avoid any compatibility issues.
Step 2: Connect to the Same Wi-Fi Network Both your iPhone and the printer need to be connected to the same Wi-Fi network for AirPrint to function correctly. Ensure that your iPhone is connected to the Wi-Fi network you intend to use for printing. Likewise, make sure your printer is powered on and connected to the same Wi-Fi network.
Step 3: Access the Print Option Once your iPhone and printer are on the same Wi-Fi network, navigate to the content you want to print on your iPhone. This could be a photo, email, document, webpage, or any other printable content.
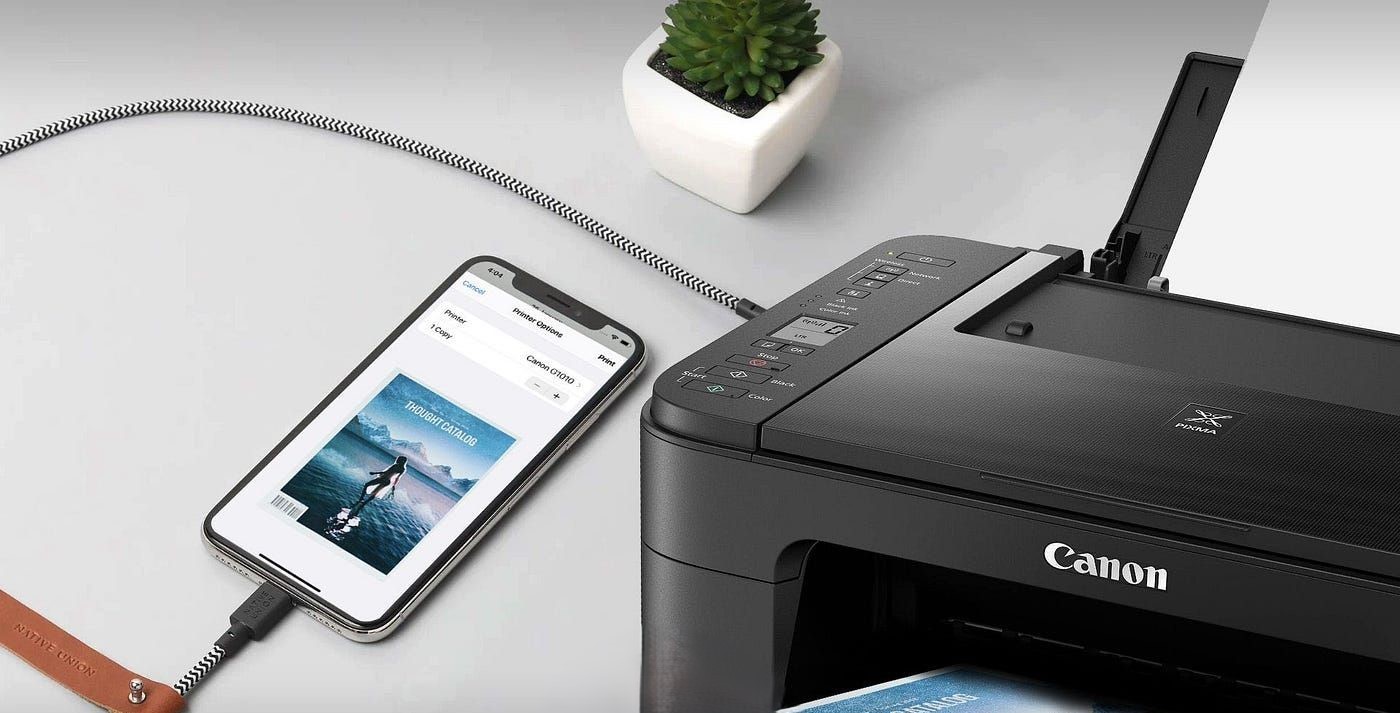
Step 4: Initiate Printing Tap the “Share” or “Action” icon, typically represented by a square with an arrow pointing upward, depending on the app you’re using. This action will bring up a menu of options. Look for the “Print” option in the menu and tap on it.
Step 5: Select Printer Your iPhone will automatically detect compatible AirPrint printers available on the network. Tap on the printer you wish to use from the list of available devices.
Step 6: Adjust Print Settings (Optional) Depending on your printing preferences, you may have the option to adjust settings such as the number of copies, paper size, color, and double-sided printing. Customize these settings according to your requirements.
Step 7: Print Once you’ve configured the settings to your liking, tap the “Print” button located in the upper right corner of the screen. Your iPhone will send the print job to the selected printer, and you should soon hear the sound of your document being printed.
Conclusion: Connecting your iPhone to a printer opens up a world of possibilities, allowing you to effortlessly print documents, photos, and more directly from your device. With the seamless integration of AirPrint technology, the process is incredibly straightforward, eliminating the need for cumbersome cables or complicated setup procedures. By following the simple steps outlined in this guide, you can harness the power of wireless printing and enjoy the convenience of bringing your digital creations to life in print, anytime and anywhere.