How to Scan Documents on a Printer: A Step-by-Step Guide
In today’s digital age, scanning documents has become a crucial aspect of managing paperwork efficiently. Whether you need to create electronic copies for archival purposes or share documents with colleagues or clients, knowing how to use your printer’s scanning function can save you time and streamline your workflow. In this guide, we’ll walk you through the steps of scanning documents on a printer, from selecting the right settings to saving the scanned files.
Step 1: Prepare Your Document
Before you start scanning, make sure your document is properly prepared. Remove any staples, paper clips, or other obstructions that could jam the scanner. Straighten out any folds or creases to ensure a clean scan. If your document is larger than the scanner’s glass surface, consider scanning it in sections and merging the scans later.
Step 2: Power On the Printer
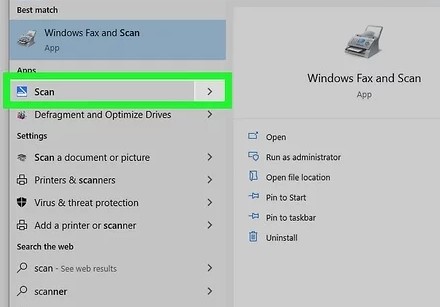
Ensure that your printer is powered on and properly connected to your computer or network. If you’re using a multifunction printer (MFP) with scanning capabilities, navigate to the scanning function on the printer’s control panel. If your printer is connected to a computer, you may also be able to initiate scans from your computer’s scanning software.
Step 3: Place the Document on the Scanner
Open the scanner lid and place your document face down on the glass surface. Align the document according to any guides or markers on the scanner bed to ensure it’s positioned correctly. Close the scanner lid gently to prevent shifting or misalignment.
Step 4: Select Scan Settings
Most printers offer a range of scanning options to customize the quality and format of your scanned documents. Common settings include resolution (measured in dots per inch or DPI), color mode (color, grayscale, or black and white), file format (PDF, JPEG, etc.), and scan size. Choose settings that are appropriate for your specific needs. For example, high-resolution scans are ideal for documents with fine details, while lower resolutions save storage space and speed up the scanning process.
Step 5: Initiate the Scan
Once you’ve configured the scan settings to your liking, it’s time to initiate the scan. Press the “Scan” or “Start” button on the printer’s control panel, or select the scan option from your computer’s scanning software. The printer will then feed the document through the scanner and capture the image according to the selected settings.
Step 6: Review and Save the Scan
After the scan is complete, take a moment to review the scanned image on the printer’s display or your computer screen. Make sure the document appears as expected and that there are no visible defects or errors. If everything looks good, proceed to save the scan to your desired location. Most printers allow you to save scans directly to a USB flash drive, email them to a designated address, or transfer them to a connected computer or network folder.
Conclusion
Scanning documents on a printer is a straightforward process that can greatly simplify document management tasks. By following the steps outlined in this guide, you can quickly and easily create electronic copies of your paper documents for archival, sharing, or editing purposes. Whether you’re a home user or a professional in a busy office environment, mastering the art of scanning documents on your printer will undoubtedly enhance your productivity and streamline your workflow.