How to Connect Your HP Printer to WiFi: A Step-by-Step Guide
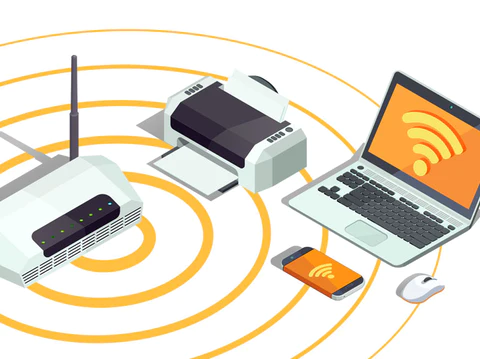
In today’s digitally connected world, wireless printing has become increasingly popular due to its convenience and versatility. Connecting your HP printer to WiFi allows you to print from multiple devices, including computers, laptops, smartphones, and tablets, without the need for cables or direct connections. If you’re wondering how to set up WiFi printing for your HP printer, this step-by-step guide will walk you through the process.
Step 1: Prepare Your Printer
Before you begin the WiFi setup process, ensure that your HP printer is turned on and ready for configuration. Make sure there is paper loaded in the input tray, and that the ink or toner cartridges are properly installed.
Step 2: Access Printer Settings
Access your printer’s control panel or display screen to navigate to the wireless or network settings menu. The exact steps may vary depending on your HP printer model, but typically, you can access these settings by pressing the “Setup” or “Menu” button on the control panel.
Step 3: Select WiFi Setup
Once you’re in the wireless or network settings menu, look for an option labeled “Wireless Setup Wizard,” “WiFi Setup,” or “Network Setup.” Select this option to begin the WiFi setup process.
Step 4: Choose Your Network
Your printer will now search for available WiFi networks in the vicinity. Select your WiFi network from the list of available networks. If your network is not listed, ensure that your printer is within range of your WiFi router and that the router is powered on.
Step 5: Enter WiFi Password
After selecting your WiFi network, you will be prompted to enter the network password or passphrase. Use the printer’s keypad or touchscreen display to input the password. Be sure to enter the password accurately, as WiFi passwords are case-sensitive.
Step 6: Connect to WiFi
Once you’ve entered the WiFi password, your HP printer will attempt to connect to the selected network. This process may take a few moments. Once the connection is established, you will see a confirmation message on the printer’s display screen.
Step 7: Install Printer Software
To ensure proper communication between your devices and the printer, you’ll need to install the necessary printer software on your computer, laptop, smartphone, or tablet. Visit the HP website and download the appropriate printer drivers and software for your operating system.
Step 8: Add Printer to Devices
After installing the printer software, follow the on-screen instructions to add your HP printer to your devices. On Windows computers, you can typically do this through the Control Panel or Settings menu. On Mac computers, use the System Preferences menu. For smartphones and tablets, download the HP Smart app from the app store and follow the prompts to add your printer.
Step 9: Test Your Printer
Once you’ve successfully connected your HP printer to WiFi and installed the necessary software, it’s time to test the connection. Print a test page from your computer or mobile device to ensure that everything is working correctly.
Step 10: Enjoy Wireless Printing
Congratulations! You’ve successfully connected your HP printer to WiFi, allowing you to enjoy the convenience of wireless printing from any device connected to the same network. Whether you’re printing documents, photos, or web pages, wireless printing makes the process simple and hassle-free.
Conclusion:
Connecting your HP printer to WiFi is a straightforward process that allows you to enjoy the convenience of wireless printing from any device. By following these step-by-step instructions, you can easily set up WiFi printing for your HP printer and enjoy the flexibility and versatility it offers. Say goodbye to cables and cords, and hello to seamless printing from anywhere in your home or office.

