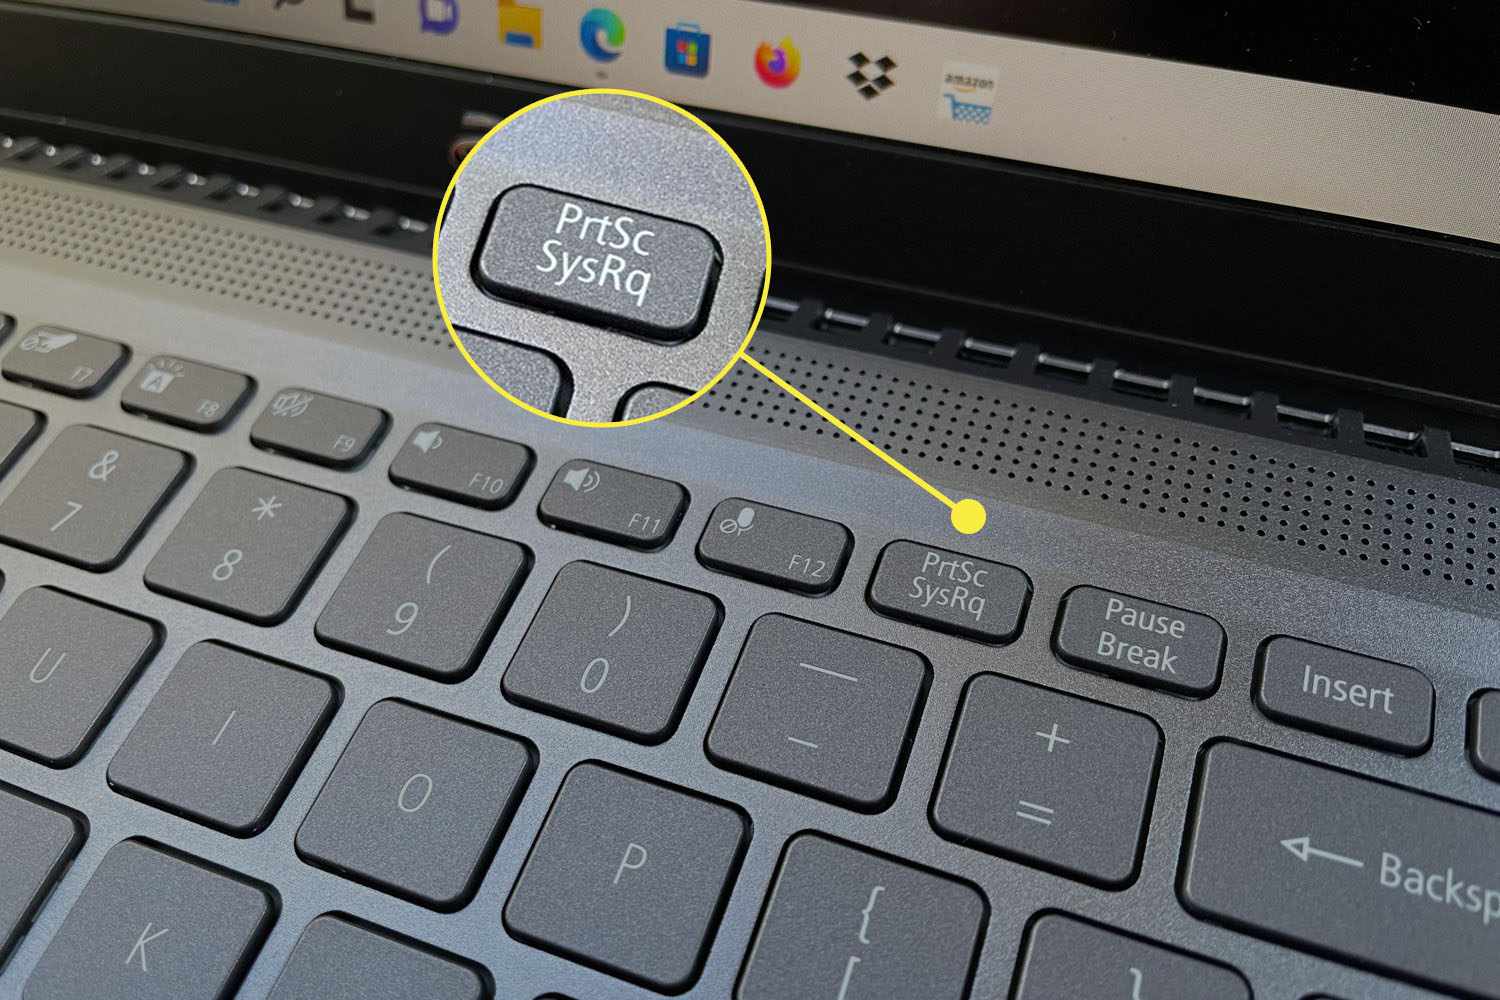
Taking a screenshot (also known as a print screen) on your laptop is a quick and easy way to capture what’s displayed on your screen. Whether you want to save an important message, an image, or information for later reference, knowing how to print screen on your laptop is a valuable skill. In this article, we’ll cover various methods to take screenshots on different operating systems, including Windows, macOS, and Chrome OS, and provide tips on how to use and manage your screenshots.
How to Print Screen on a Windows Laptop
There are several ways to take a screenshot on a Windows laptop:
- PrtScn (Print Screen) Key:
- Pressing the PrtScn key on your keyboard will capture the entire screen and save it to the clipboard.
- You can then paste the screenshot into an image editing program (such as Paint) by pressing Ctrl + V and save it as an image file.
- Alt + PrtScn:
- Pressing Alt + PrtScn together will capture the active window (the currently open and focused application) and save it to the clipboard.
- Paste the screenshot using Ctrl + V into an image editing program and save it.
- Windows Key + PrtScn:
- Pressing Windows Key + PrtScn together will capture the entire screen and automatically save it as an image file in the Screenshots folder located within the Pictures folder.
- Snipping Tool:
- The Snipping Tool allows you to capture specific areas of your screen. Open the Snipping Tool, select “New,” and choose the area you want to capture.
- Save the screenshot as an image file.
- Snip & Sketch:
- This tool is similar to the Snipping Tool and allows you to take screenshots of specific areas on your screen. Open the app (search for it in the Start menu) and select “New” to take a screenshot.
- Save the screenshot using the save icon in the app.
How to Print Screen on a Mac Laptop
Taking screenshots on a Mac laptop is straightforward:
- Command + Shift + 3:
- Pressing Command + Shift + 3 together will capture the entire screen and save the screenshot as an image file on your desktop.
- Command + Shift + 4:
- Pressing Command + Shift + 4 together will allow you to select a specific area of the screen to capture. After selecting the area, the screenshot will be saved as an image file on your desktop.
- Command + Shift + 5:
- This key combination opens a screenshot interface where you can capture the entire screen, a specific window, or a selected area.
- You can also use the interface to choose where to save the screenshot.
How to Print Screen on a Chromebook Laptop
Taking screenshots on a Chromebook is also simple:
- Ctrl + Window Switcher Key:
- Pressing Ctrl + Window Switcher Key together will capture the entire screen and save the screenshot as an image file in the Downloads folder.
- Ctrl + Shift + Window Switcher Key:
- Pressing Ctrl + Shift + Window Switcher Key together allows you to select a specific area of the screen to capture. The screenshot is saved in the Downloads folder.
Conclusion
Taking a screenshot on your laptop is a convenient way to save and share what’s on your screen. By learning the various key combinations and tools available on your operating system, you can capture full-screen images, active windows, or specific areas of your screen with ease.
Remember to organize your screenshots in a way that makes them easy to access and use. Whether you choose to save them to your desktop, pictures folder, or a dedicated screenshots directory, keeping your screenshots organized can help you manage your digital life more effectively.
With these tips and methods, you’ll be well-equipped to take screenshots on your laptop whenever you need them.

