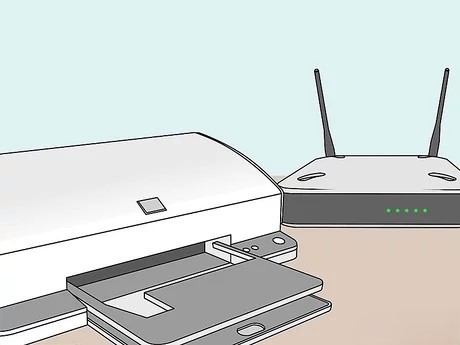
How to Connect a Printer to Wi-Fi: A Step-by-Step Guide
Connecting your printer to Wi-Fi allows you to print documents wirelessly from your devices, eliminating the need for physical connections and making printing more convenient. Whether you have a new printer or an older one, the process of connecting it to Wi-Fi is straightforward and can be accomplished in a few easy steps. In this article, we’ll guide you through connecting your printer to Wi-Fi and discuss some common troubleshooting tips if you encounter any issues.
Step 1: Gather Your Network Information
Before you begin, make sure you have the following information on hand:
- Wi-Fi Network Name (SSID): The name of your wireless network.
- Wi-Fi Password: The password for your network.
Step 2: Prepare Your Printer
- Turn on the Printer: Ensure your printer is powered on and ready to connect to the Wi-Fi network.
- Check Wi-Fi Capability: Confirm that your printer supports Wi-Fi connectivity. Most modern printers have this capability, but older models may not.
Step 3: Access the Printer’s Settings
There are different methods for accessing your printer’s settings depending on the model:
- Control Panel: Many printers have a built-in control panel with a display screen. Use the menu buttons to navigate to the network or Wi-Fi settings.
- Mobile App: Some printers can be set up using a mobile app provided by the manufacturer. Download the app from your device’s app store and follow the instructions.
- Web Interface: If your printer is already connected to your network, you may be able to access its settings through a web browser on your computer. Check the manufacturer’s documentation for instructions.
Step 4: Connect to Wi-Fi
Once you access the printer’s settings, follow these steps to connect it to your Wi-Fi network:
- Select Network Settings: Navigate to the network or Wi-Fi settings in your printer’s menu.
- Choose Your Network: Look for your Wi-Fi network in the list of available networks. Select it.
- Enter Your Wi-Fi Password: Use the printer’s control panel or app to enter your network password.
- Confirm Connection: Once you’ve entered your password, confirm the connection. The printer should now attempt to connect to your Wi-Fi network.
Step 5: Test the Connection
After the printer connects to your Wi-Fi network, test the connection by printing a test page. Ensure the document prints successfully without any issues.
Troubleshooting Tips
If you encounter any problems while connecting your printer to Wi-Fi, try the following troubleshooting tips:
- Restart Your Printer: Turn off the printer and turn it back on to reset the connection.
- Move the Printer: If the printer is too far from the Wi-Fi router, the signal may be weak. Try moving the printer closer to the router.
- Check the Network: Make sure your Wi-Fi network is working properly. Restart your router if necessary.
- Update Firmware: Ensure your printer’s firmware is up to date. Check the manufacturer’s website for updates.
- Try Manual Setup: If the automatic setup doesn’t work, try manually entering your network settings.
Conclusion
Connecting your printer to Wi-Fi can enhance your printing experience by allowing you to print wirelessly from various devices. By following the steps outlined in this guide, you can connect your printer to your Wi-Fi network with ease. Remember to have your network information ready, access the printer’s settings, and test the connection after setup. If you encounter any issues, the troubleshooting tips provided can help you resolve them. Enjoy the convenience of wireless printing and the freedom it brings to your home or office!

