A Step-by-Step Guide to Changing Ink in Your HP Printer
Are you facing the dreaded low-ink warning on your HP printer? Don’t worry; it’s a common occurrence for anyone who prints regularly. Changing the ink cartridges in your HP printer is a straightforward process that doesn’t require any special skills. Follow these simple steps to replace the ink and get back to printing in no time.
Step 1: Preparation
Before you begin, make sure you have the correct replacement ink cartridges for your HP printer. Refer to your printer’s manual or visit the HP website to identify the compatible cartridges. Once you have the new cartridges on hand, turn on your printer and open the ink cartridge access door. The printer will move the cartridges to the center for easy access.
Step 2: Remove the Old Cartridges
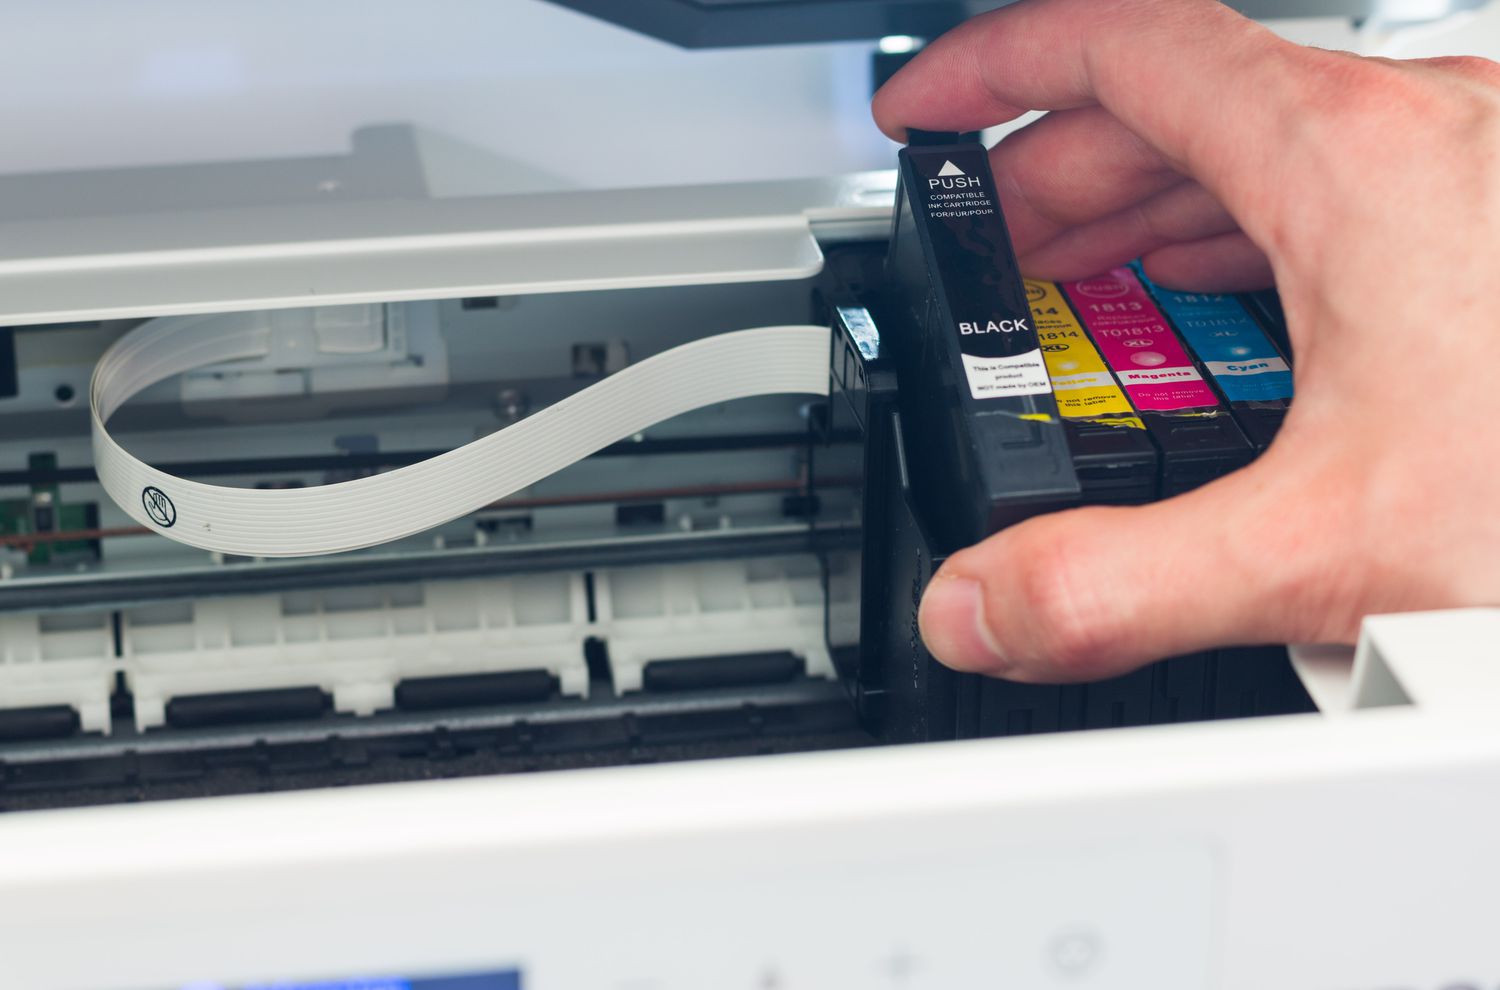
Once the cartridges are accessible, gently push down on the top of the cartridge you want to replace to release it from its slot. Pull the cartridge out towards you to remove it from the printer. Be careful not to touch the copper-colored contacts or the ink nozzles to avoid damaging the cartridge or causing printing issues.
Step 3: Install the New Cartridge
Take the new ink cartridge out of its packaging and remove any protective tape or plastic covering. Hold the cartridge by its sides with the contacts facing the printer and slide it into the empty slot. Push the cartridge up until it clicks into place. Repeat this process for any additional cartridges that need replacing.
Step 4: Align the Cartridges (if necessary)
Some HP printers require you to align the ink cartridges after replacing them to ensure optimal print quality. If prompted, follow the on-screen instructions or use the printer’s control panel to initiate the alignment process. This typically involves printing a test page and scanning it to calibrate the cartridges.
Step 5: Close the Ink Cartridge Access Door
Once you’ve replaced the ink cartridges and completed any alignment procedures, close the ink cartridge access door securely. Make sure it snaps into place to prevent any errors or malfunctions. Your HP printer is now ready to resume printing with fresh ink.
Conclusion
Changing the ink cartridges in your HP printer is a simple task that can be completed in just a few minutes. By following these step-by-step instructions, you can ensure that your printer continues to produce high-quality prints without any hassle. Remember to always use genuine HP ink cartridges to maintain the longevity and performance of your printer. With regular maintenance and timely ink replacements, you can keep your HP printer running smoothly for years to come.