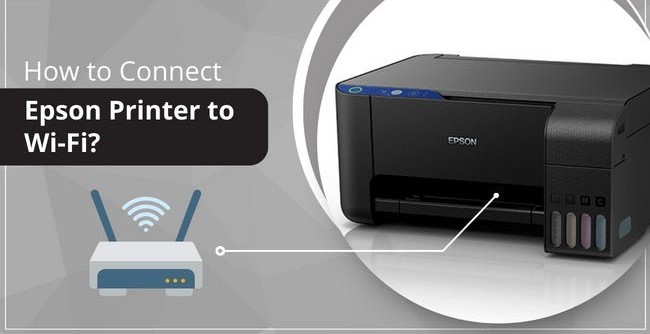
A Step-by-Step Guide to Connecting Your Epson Printer to WiFi
In today’s digital age, wireless connectivity has become a necessity for many devices, including printers. Connecting your Epson printer to WiFi not only enhances convenience but also allows you to print from multiple devices without the hassle of cables. If you’re wondering how to make this connection, fear not! Follow these simple steps to get your Epson printer up and running on your wireless network.
Step 1: Prepare Your Printer Before you start the connection process, ensure that your Epson printer is turned on and ready. Make sure there are no error messages on the printer’s display panel, and all ink cartridges are properly installed.
Step 2: Access the Control Panel Navigate to the control panel on your Epson printer. Depending on the model, this may be a touchscreen or a series of buttons. Look for the “Setup” or “Menu” option and select it.
Step 3: Locate the Network Settings Once you’re in the setup menu, find the “Network Settings” or “Wireless Setup” option. Again, the exact wording may vary depending on your printer model. Select this option to proceed.
Step 4: Choose WiFi Setup Within the network settings menu, you should see an option for “WiFi Setup” or something similar. Select it to begin the WiFi configuration process.
Step 5: Select Your Network Your Epson printer will now search for available WiFi networks in your vicinity. Once the search is complete, a list of networks should appear on the screen. Scroll through the list and select your WiFi network from the options provided.
Step 6: Enter WiFi Password After selecting your WiFi network, you will be prompted to enter the password. Use the touchscreen or navigation buttons to input the correct password for your WiFi network. Take care to enter it accurately, as WiFi passwords are case-sensitive.
Step 7: Connect to WiFi Once you’ve entered the WiFi password, your Epson printer will attempt to connect to the network. This process may take a few moments. Be patient and wait for the printer to establish a connection.
Step 8: Test the Connection After successfully connecting to the WiFi network, your Epson printer may print a confirmation page or display a message indicating that the connection was successful. You can also check the printer’s status on your computer or mobile device to ensure it’s connected.
Step 9: Install Printer Software (if necessary) If you haven’t already done so, you may need to install the Epson printer software on your computer or mobile device. This software will allow you to print wirelessly and access additional printer features.
Conclusion: Congratulations! You’ve successfully connected your Epson printer to WiFi. With this wireless connection in place, you can enjoy the convenience of printing from anywhere within your home or office network. No more tangled cables or limited placement options—simply send your print jobs wirelessly and let your Epson printer do the rest. If you encounter any issues during the setup process, refer to the printer’s user manual or Epson’s online support resources for troubleshooting assistance. Happy printing!